hogbackfab
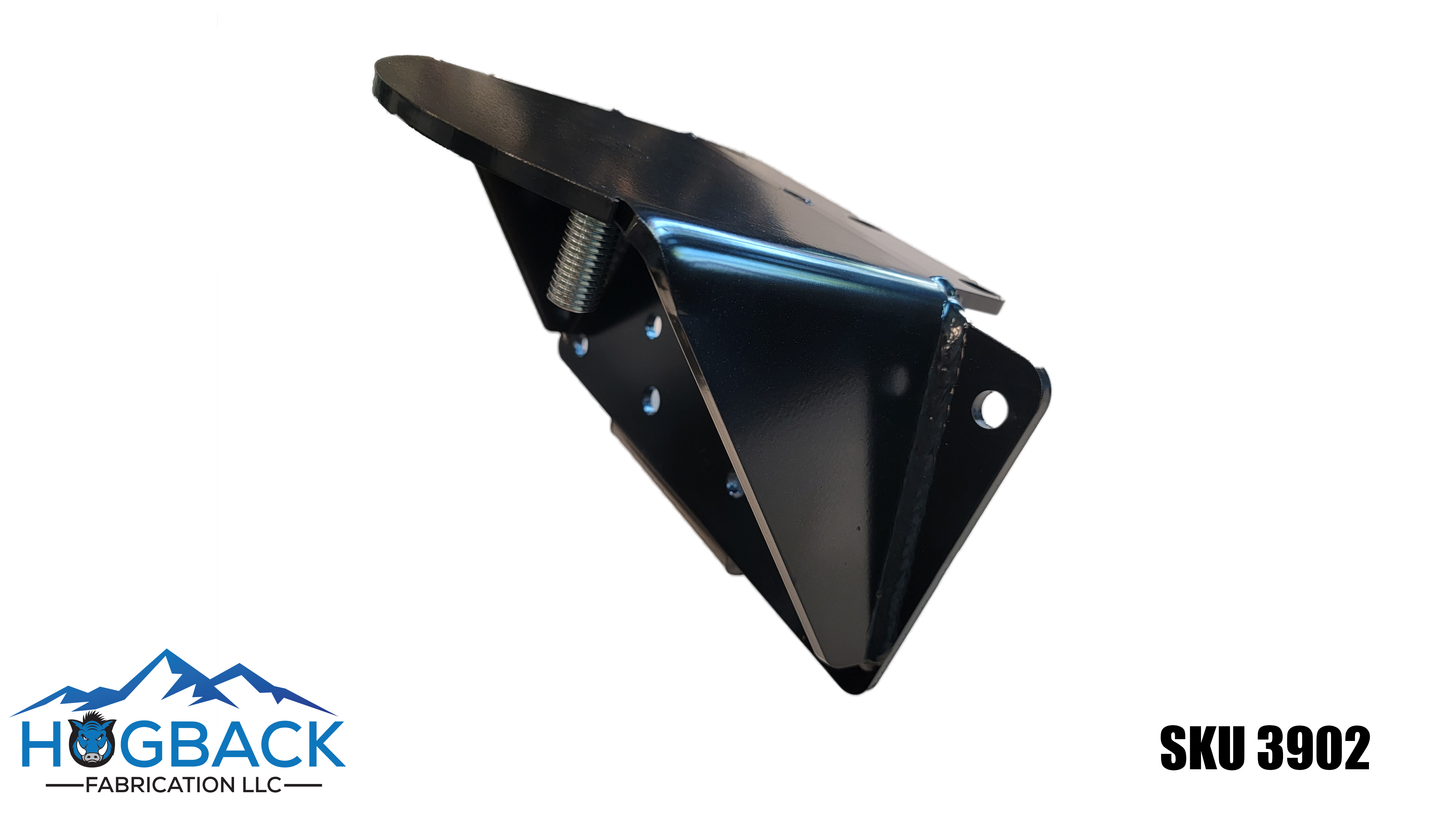
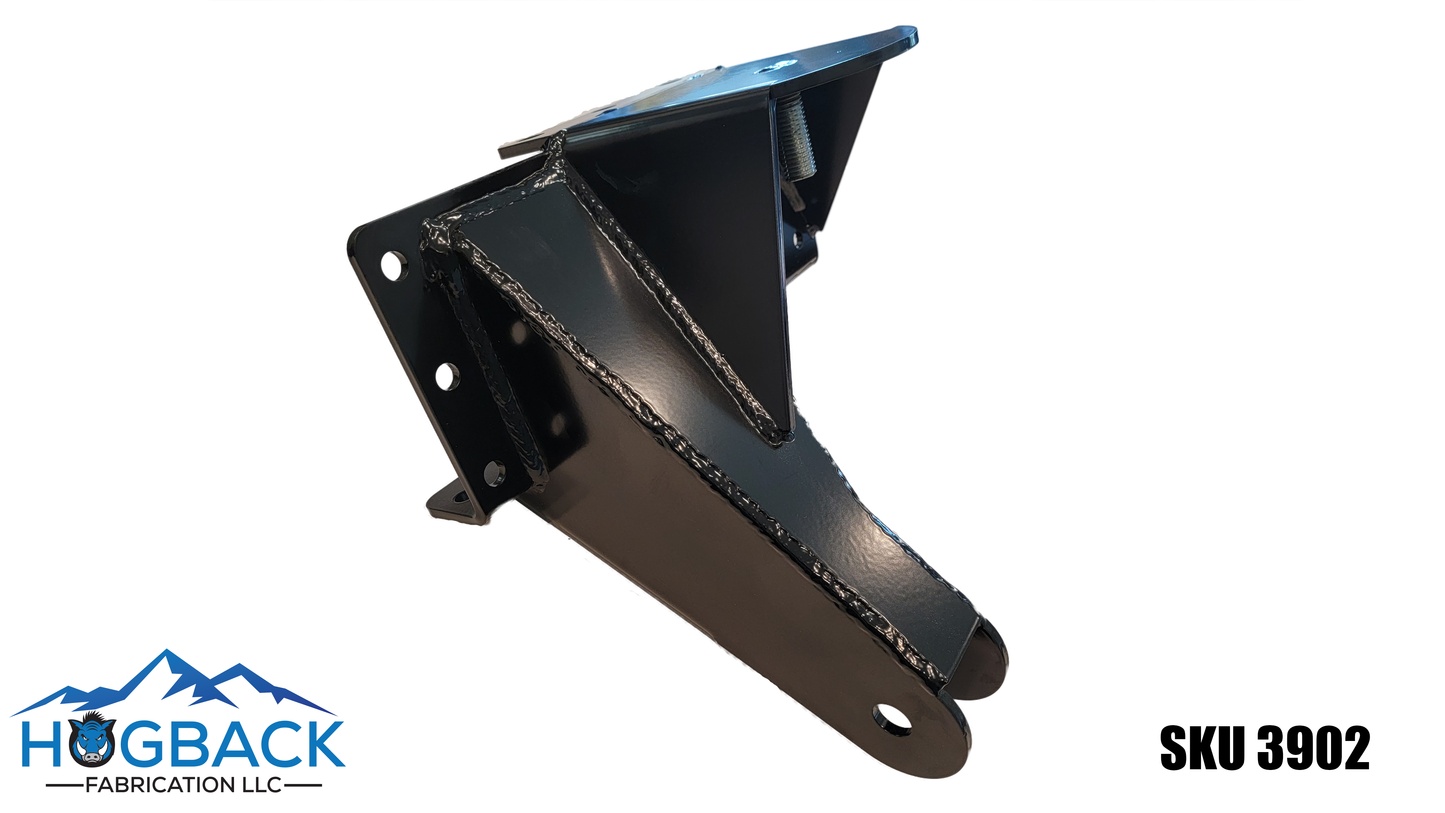
73-87 GM Super Duty D60 Bolt on Coil Brackets
Couldn't load pickup availability
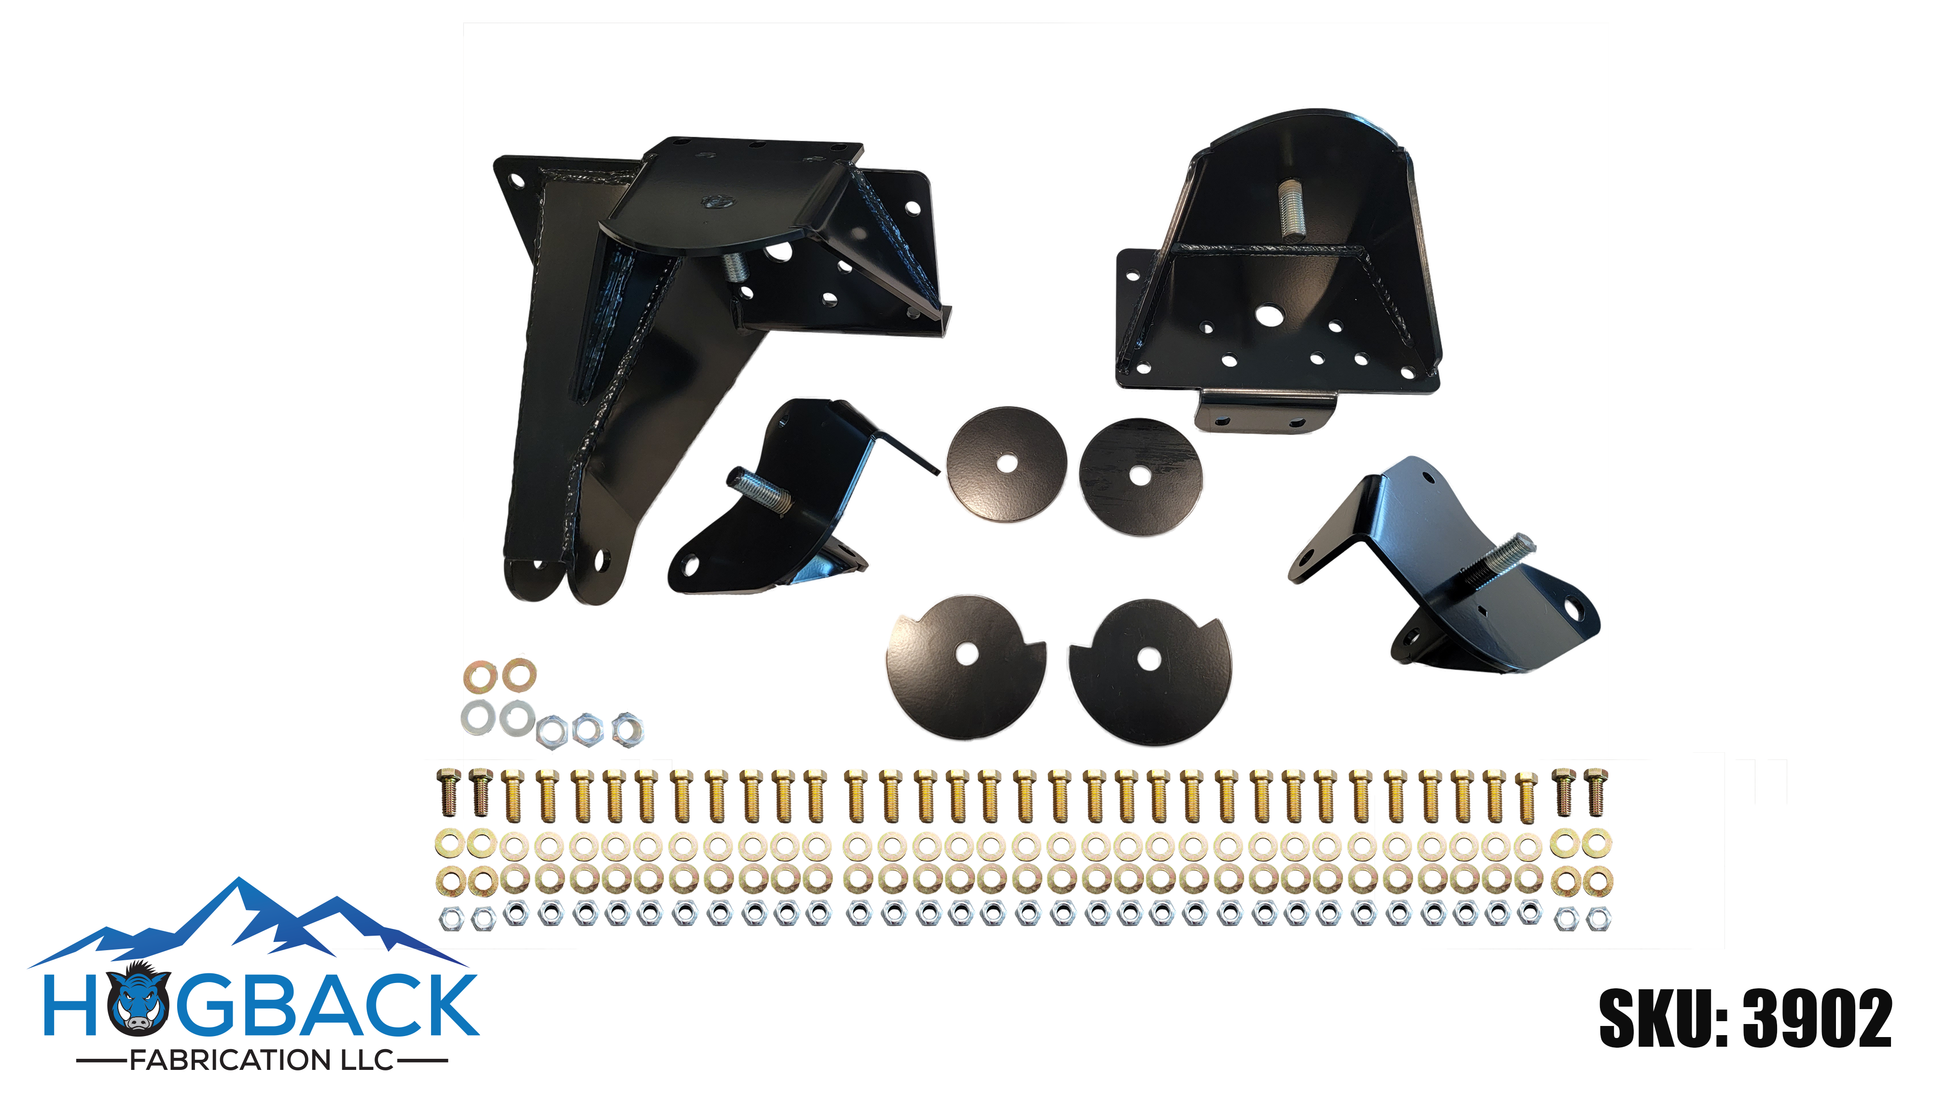
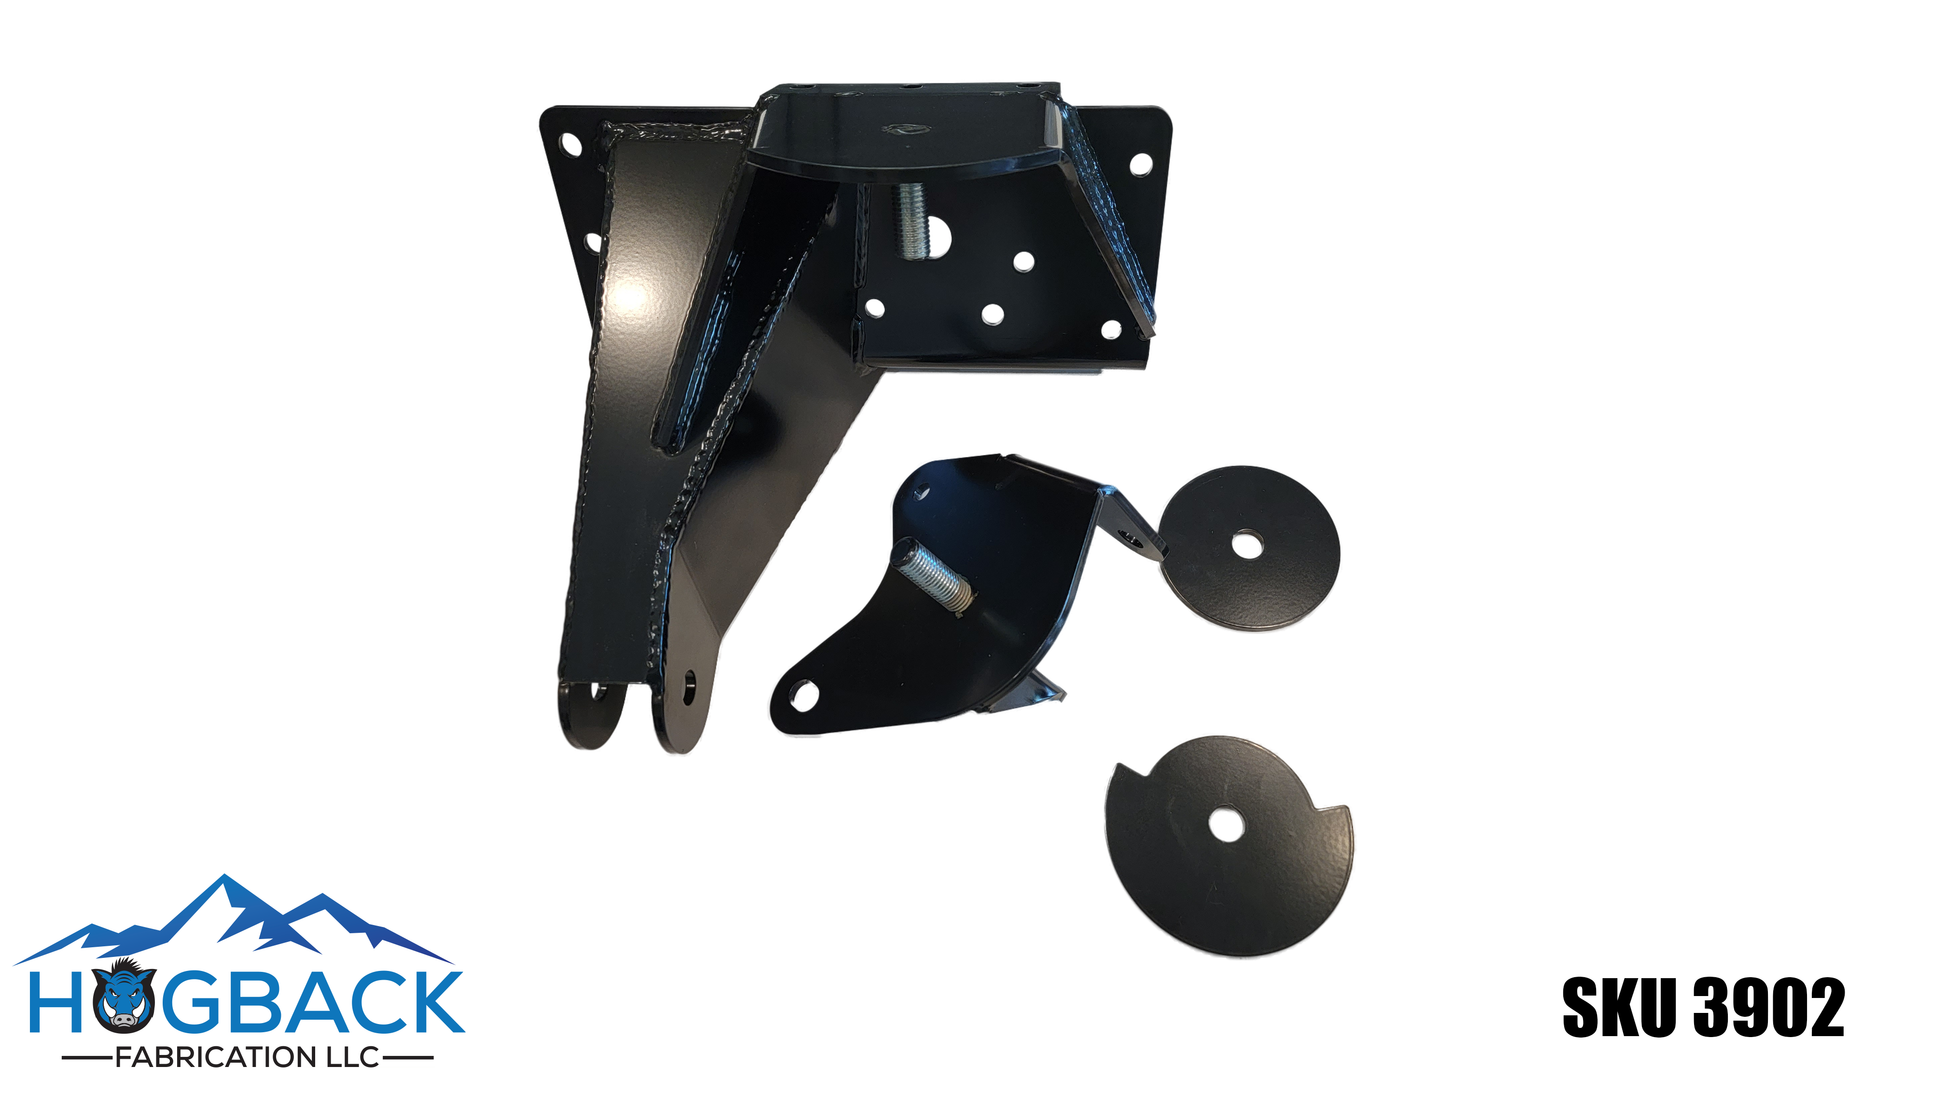
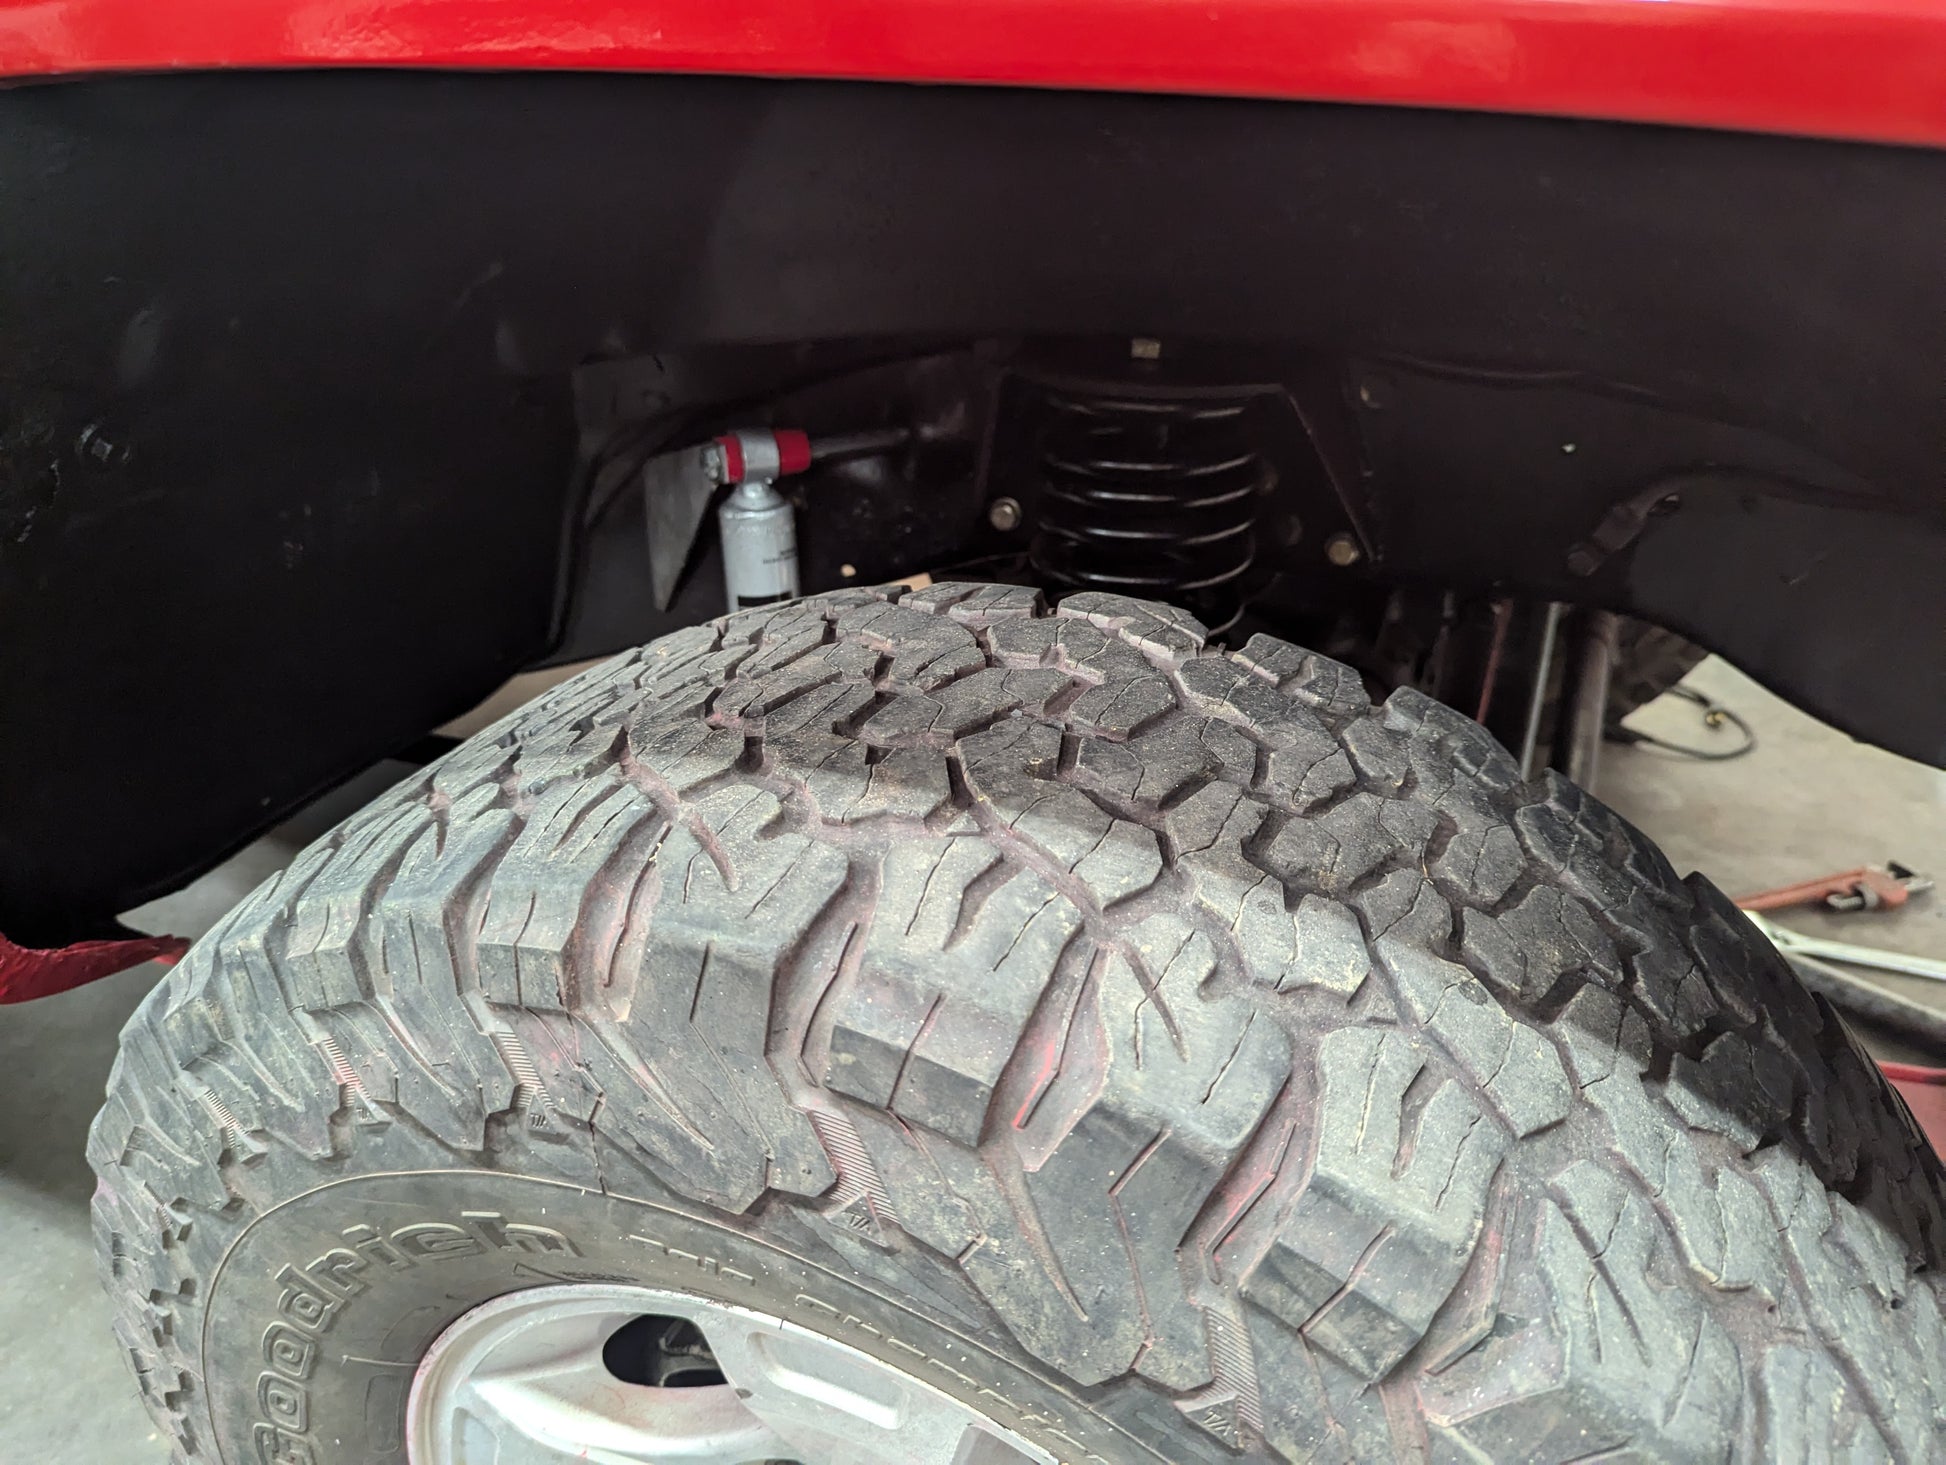
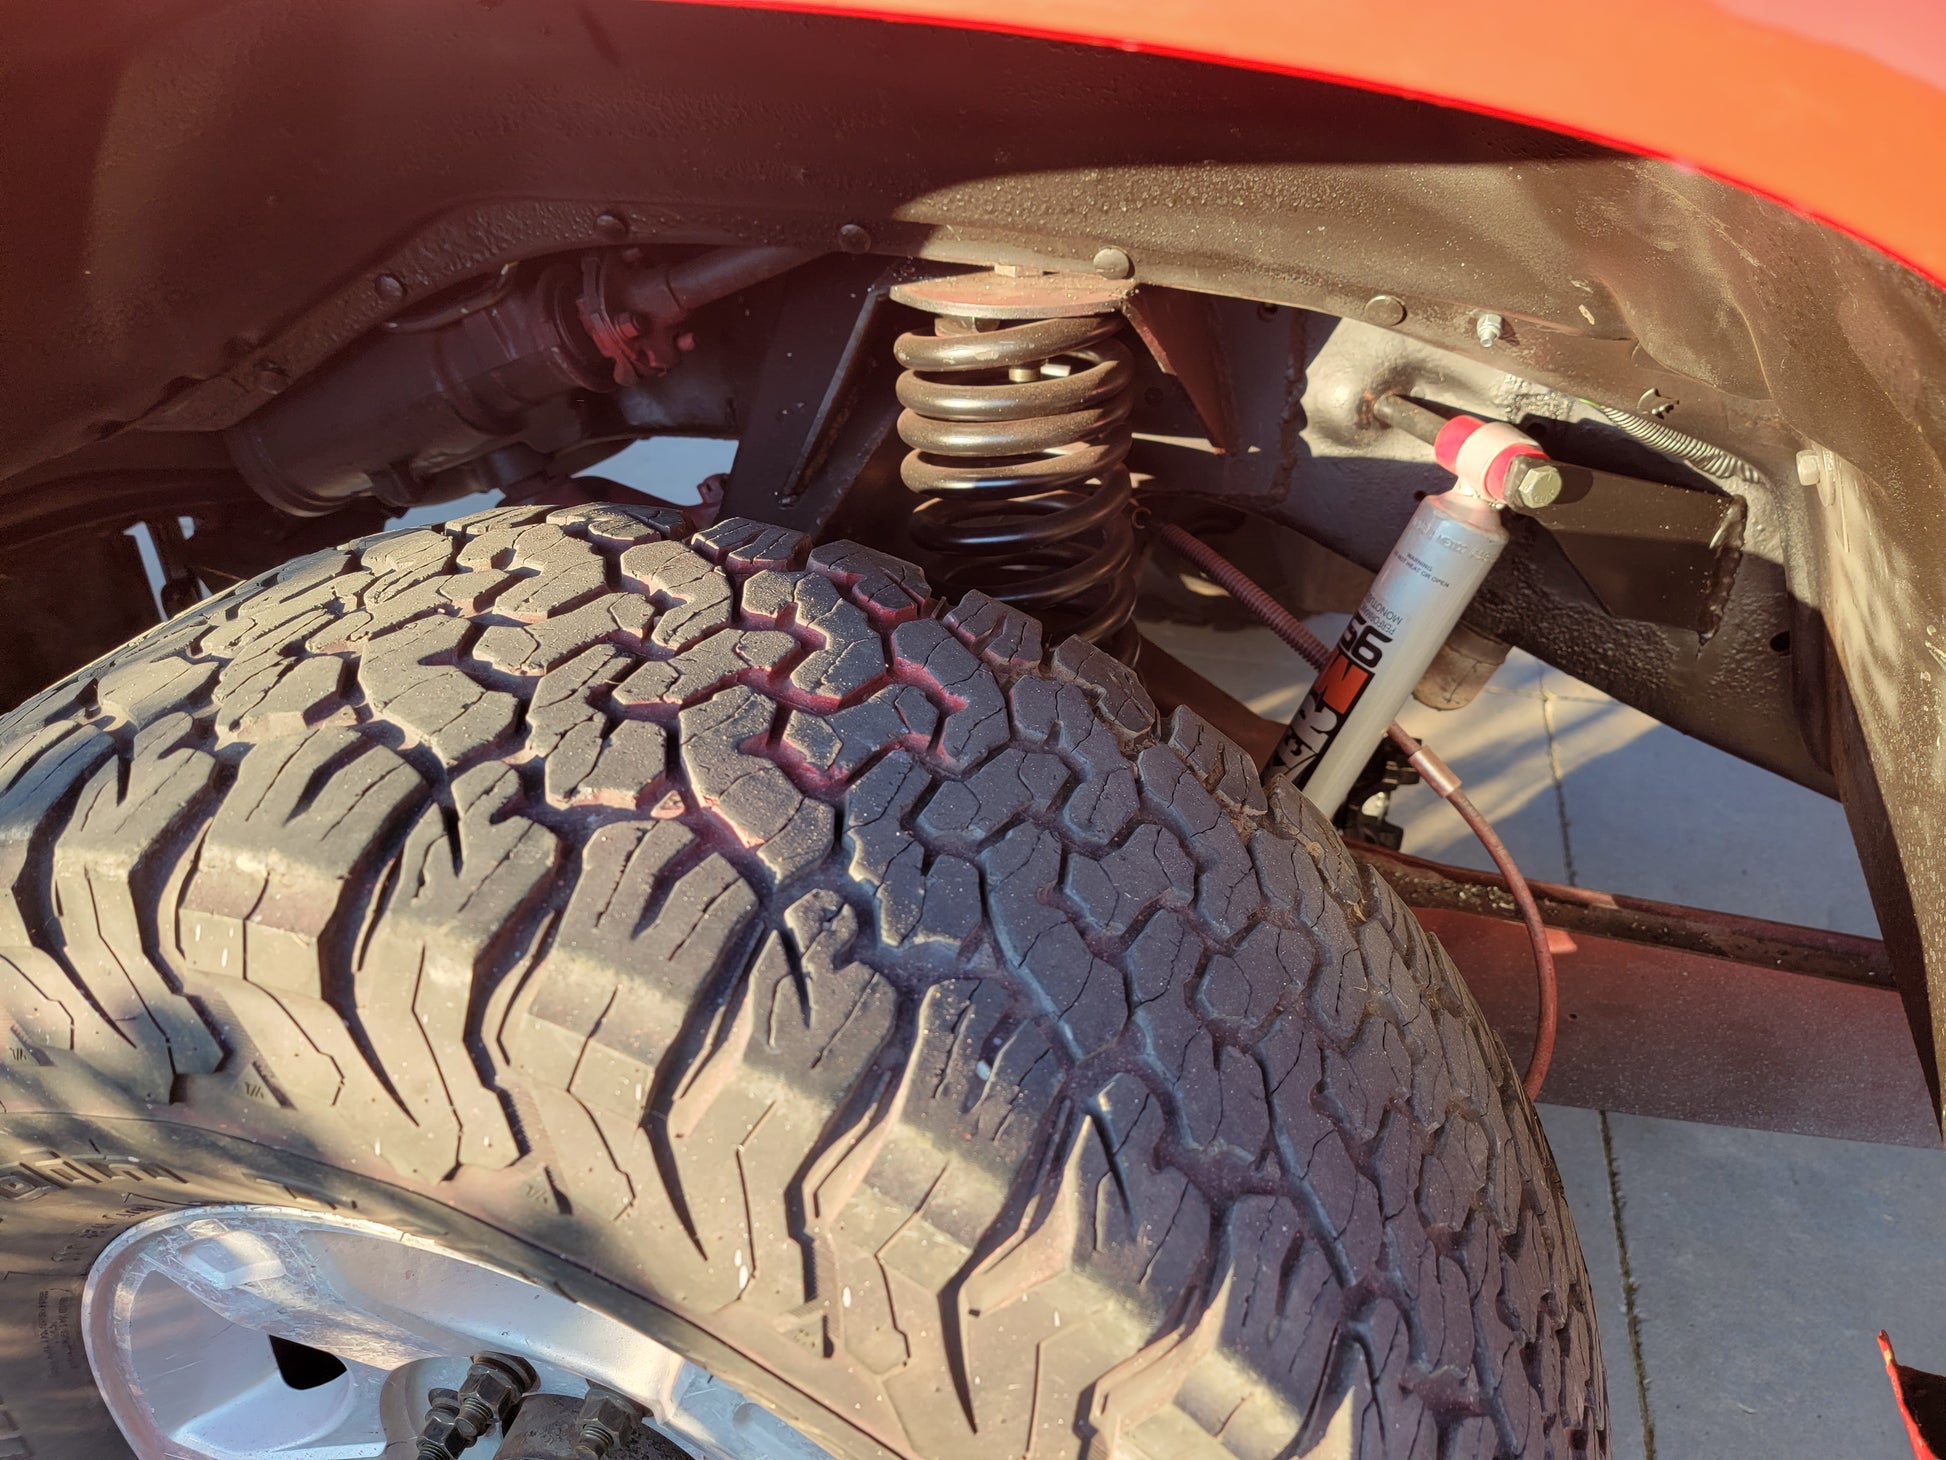
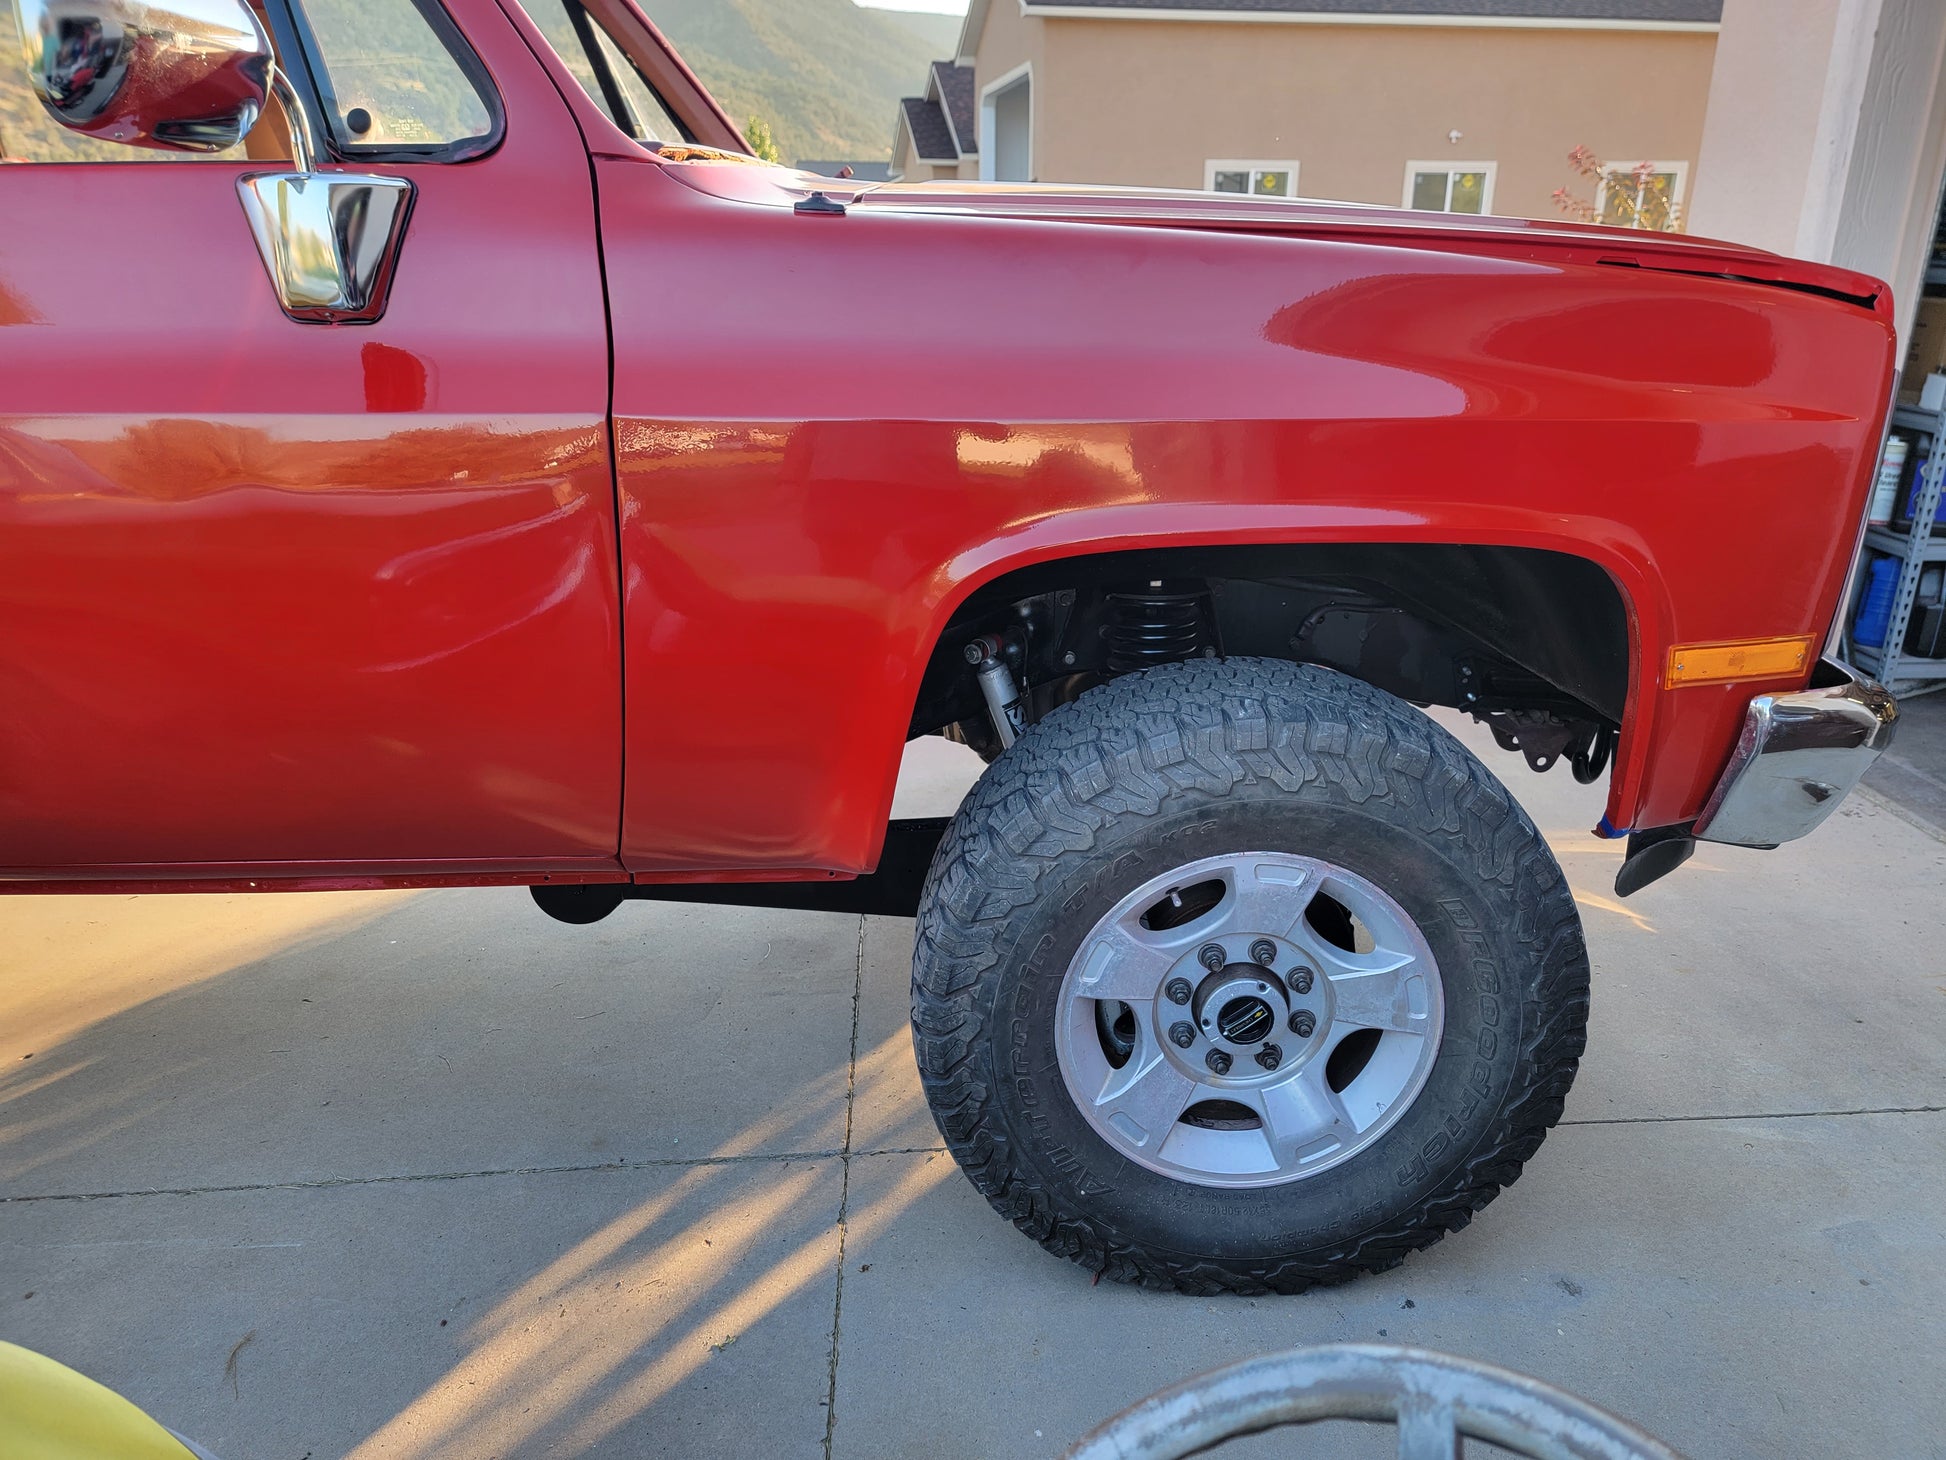
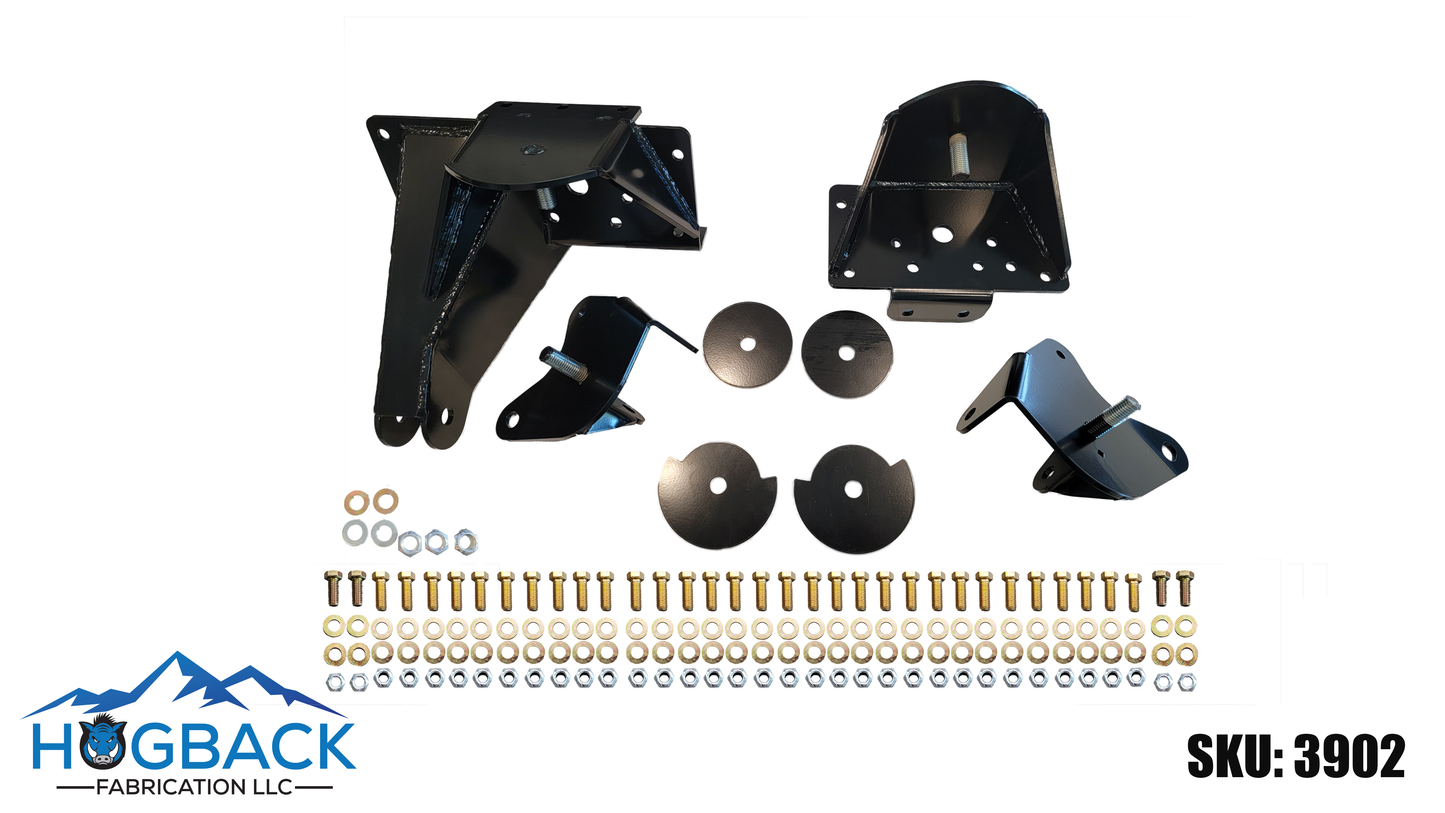
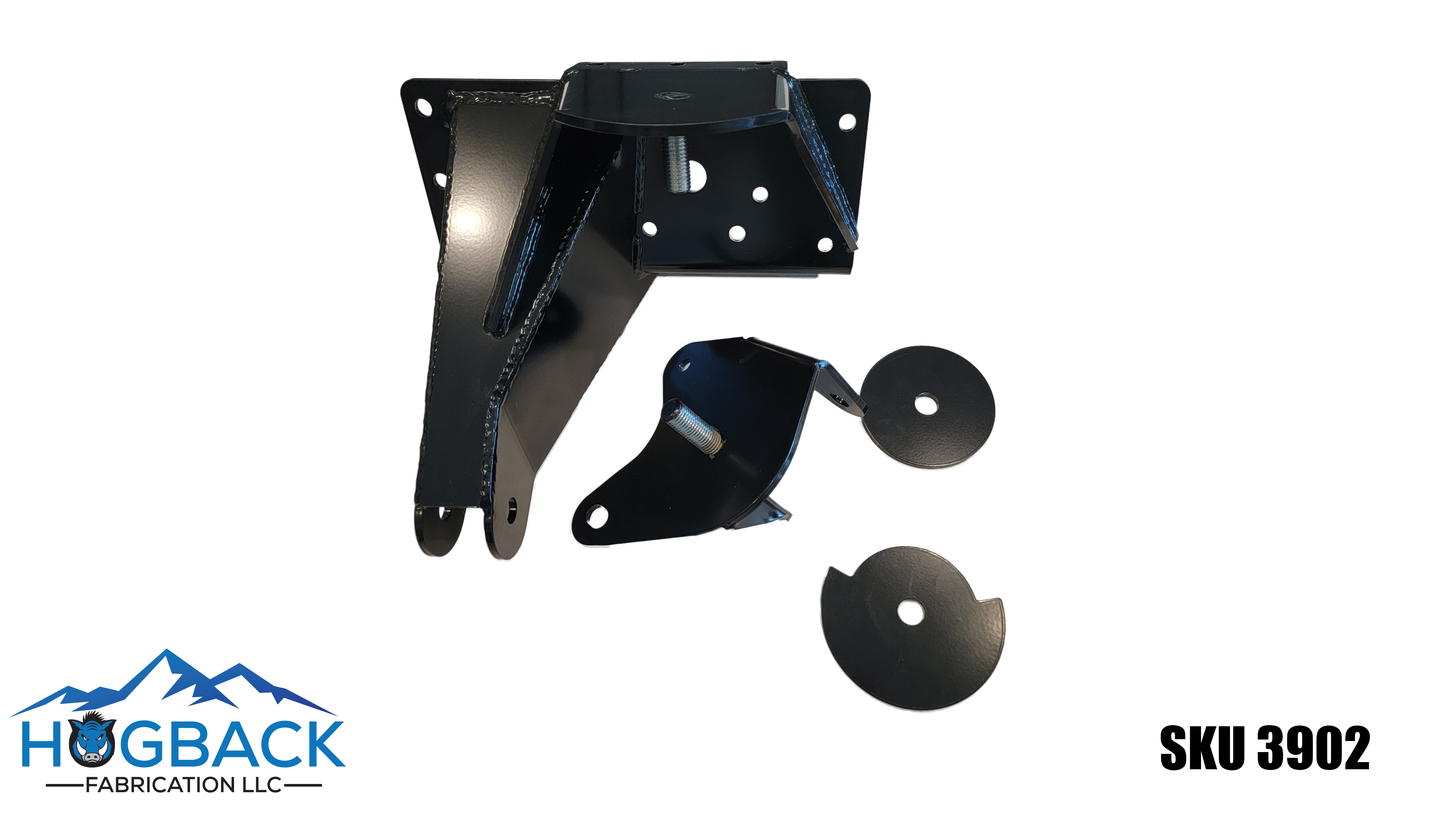
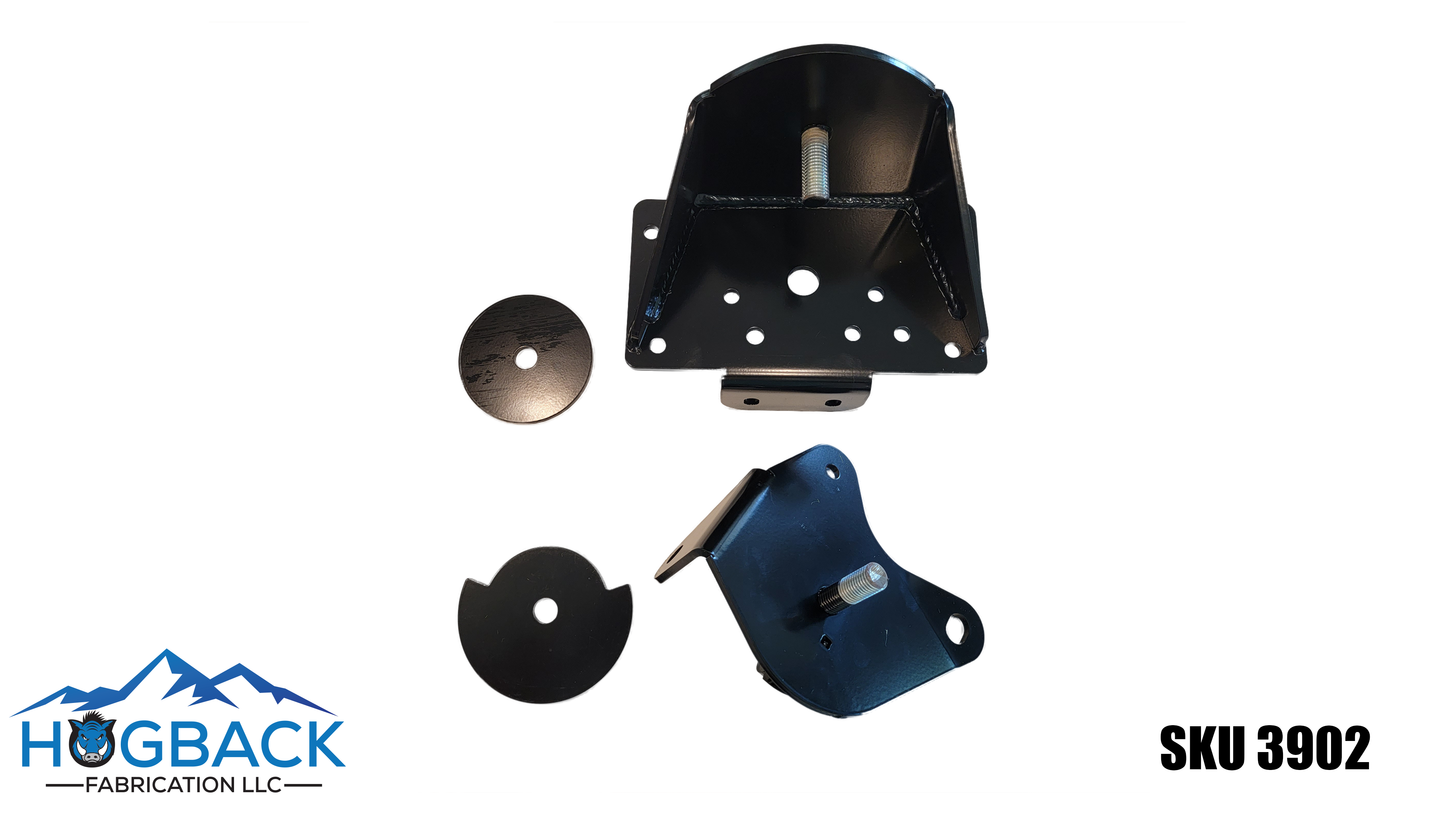
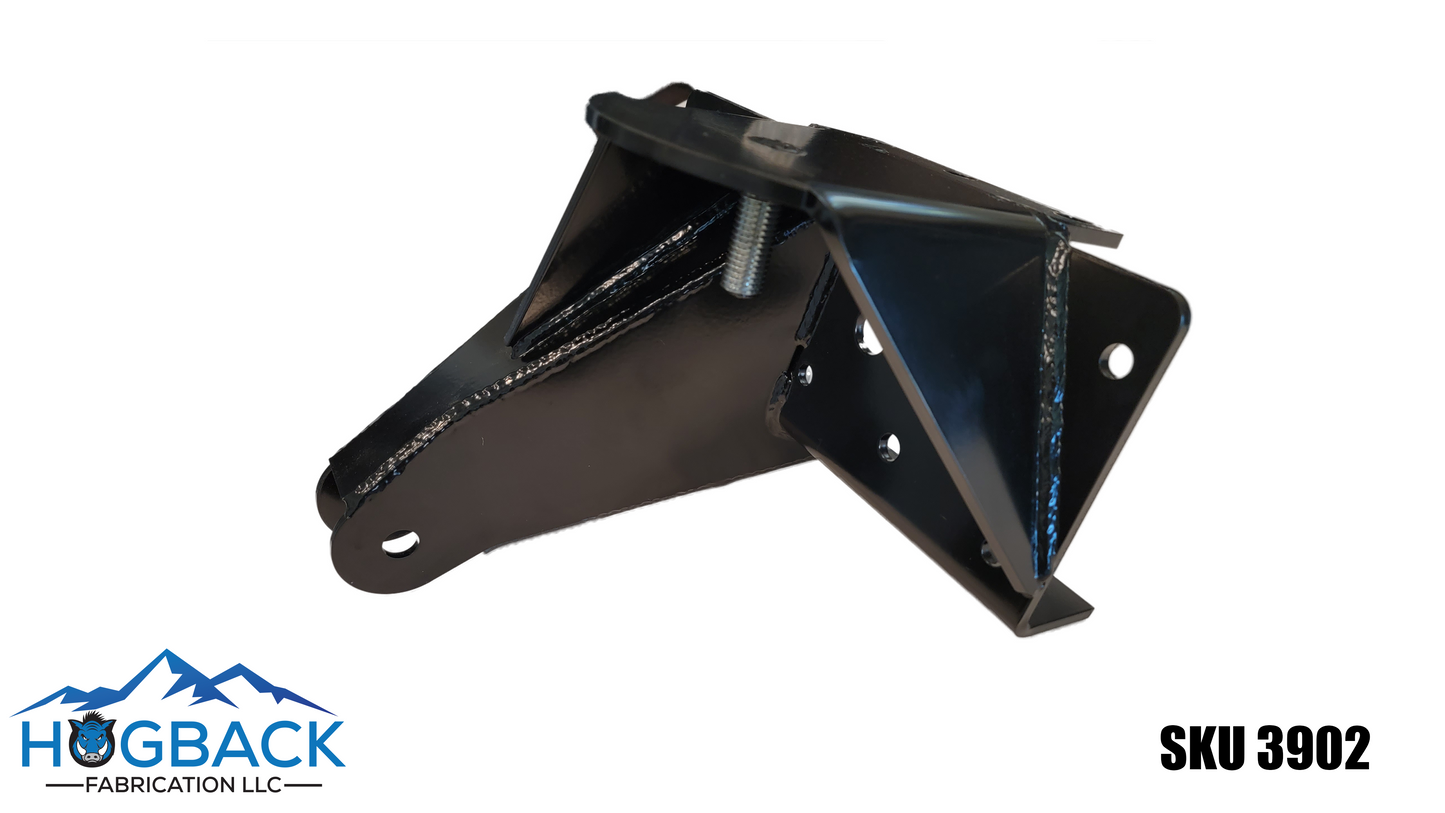
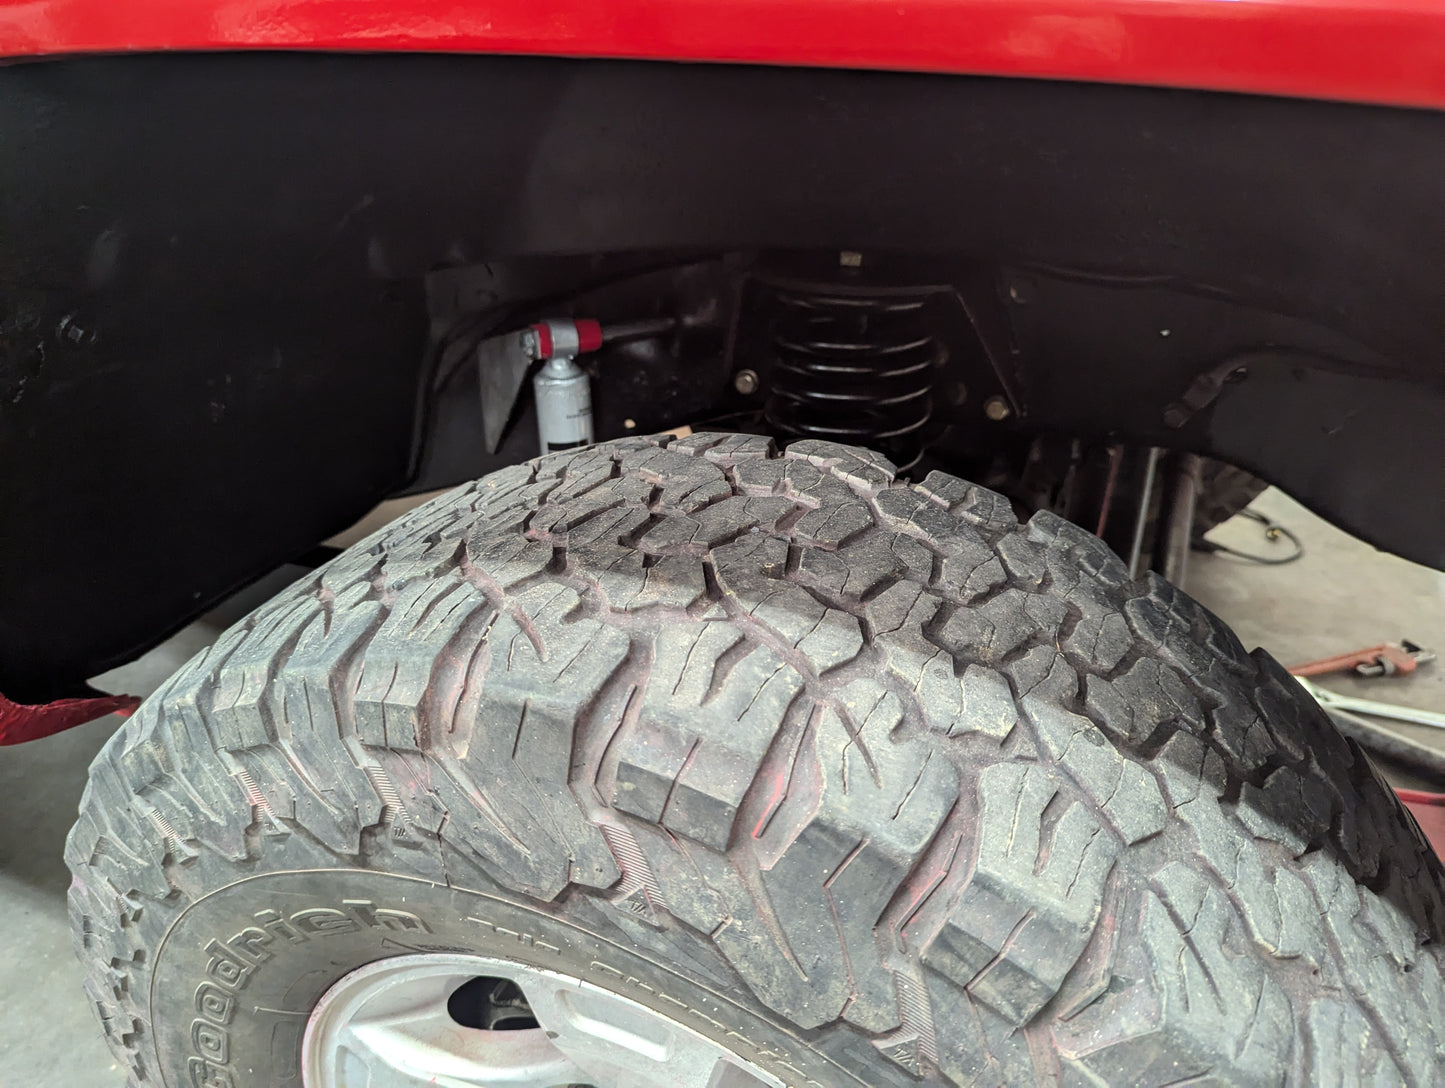
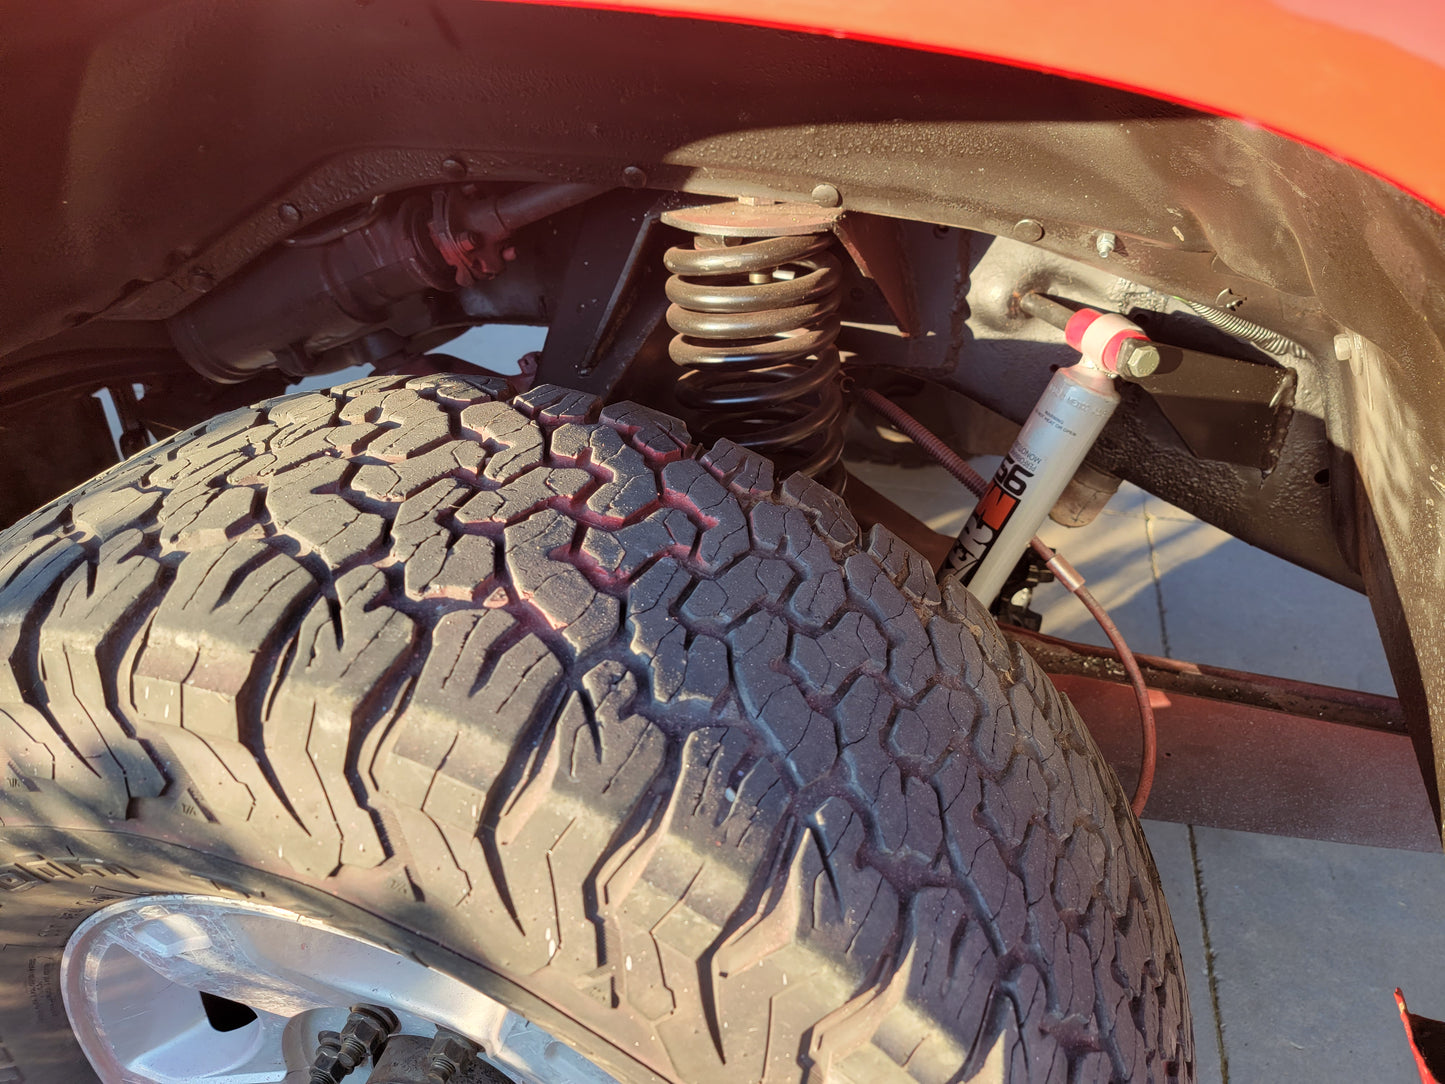
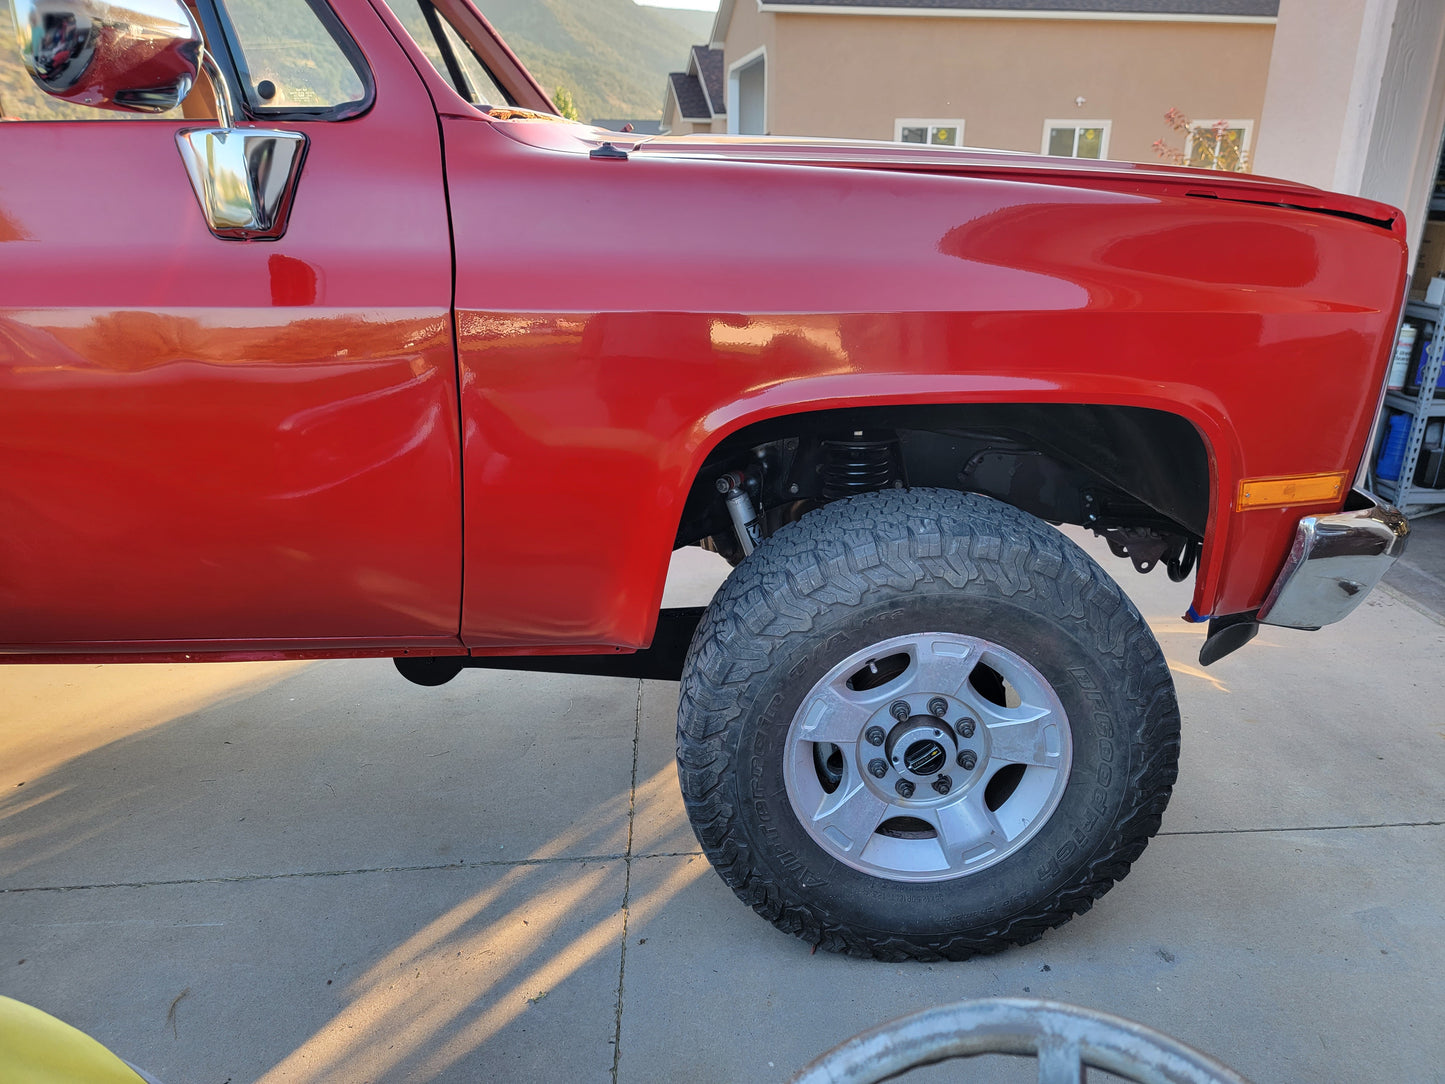
Bolt on a strong axle and better suspension with our 73-87 Bolt on coil buckets for the 2005+ Ford super 60

- Remove the front bumpstop and bumpstop bracket, you'll have to remove three rivets. If your truck has one, remove the bracket holding down the brakeline as well.
- The brake hard line will need to be routed under the frame rather than through it. You can bend the existing hardline under the frame or you can run/splice in new line.
- Drill existing holes out to 1/2", there are additional holes in the brackets that will need to be marked and drilled out into the frame.
- 7/16" bolts are torqued to 38 ft. lbs, 1/2" bolts (the four at the front of the driver's side bracket) are torqued to 60 ft. lbs. Bolt size is measured by the diameter of the threads, not the wrench/socket that the bolt uses.
Lower brackets:
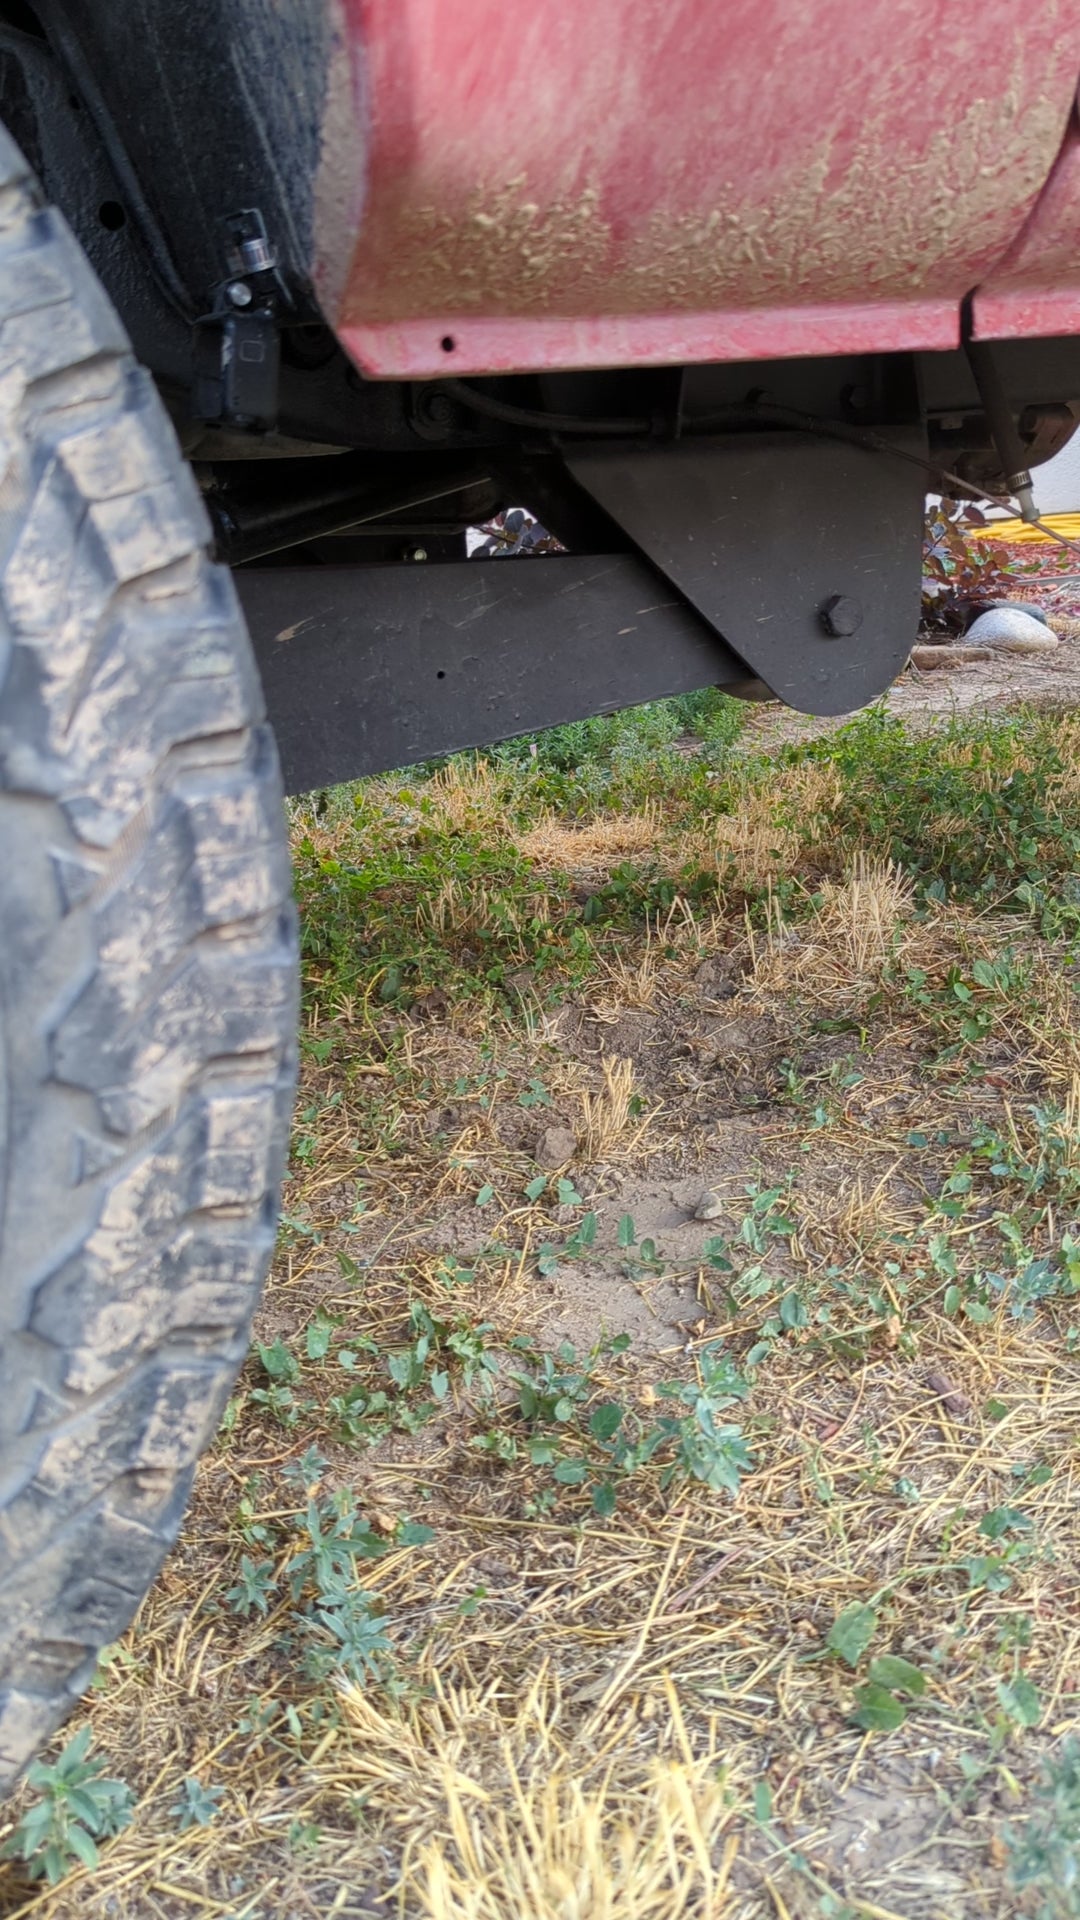
- Remove the factory coil spring bracket on the axle (held on by one bolt), it is no longer used.
- The coil bracket uses the upper radius arm bolt, you'll need to remove that and run it through the coil bracket and radius arm.
- At the far outside, our lower coil bracket has one supplied bolt (on each side) that bolts the bracket to the stock coil spring hole on the axle.
- There is another hole in our lower coil bracket, inward towards the center, that will need to be drilled for a bolt/nut or drilled/tapped to accept a bolt. The castings differ, so use whichever makes sense on that side to hold that end of the bracket down.
Coil springs
- Put the frame on jack stands and let the front axle droop out.
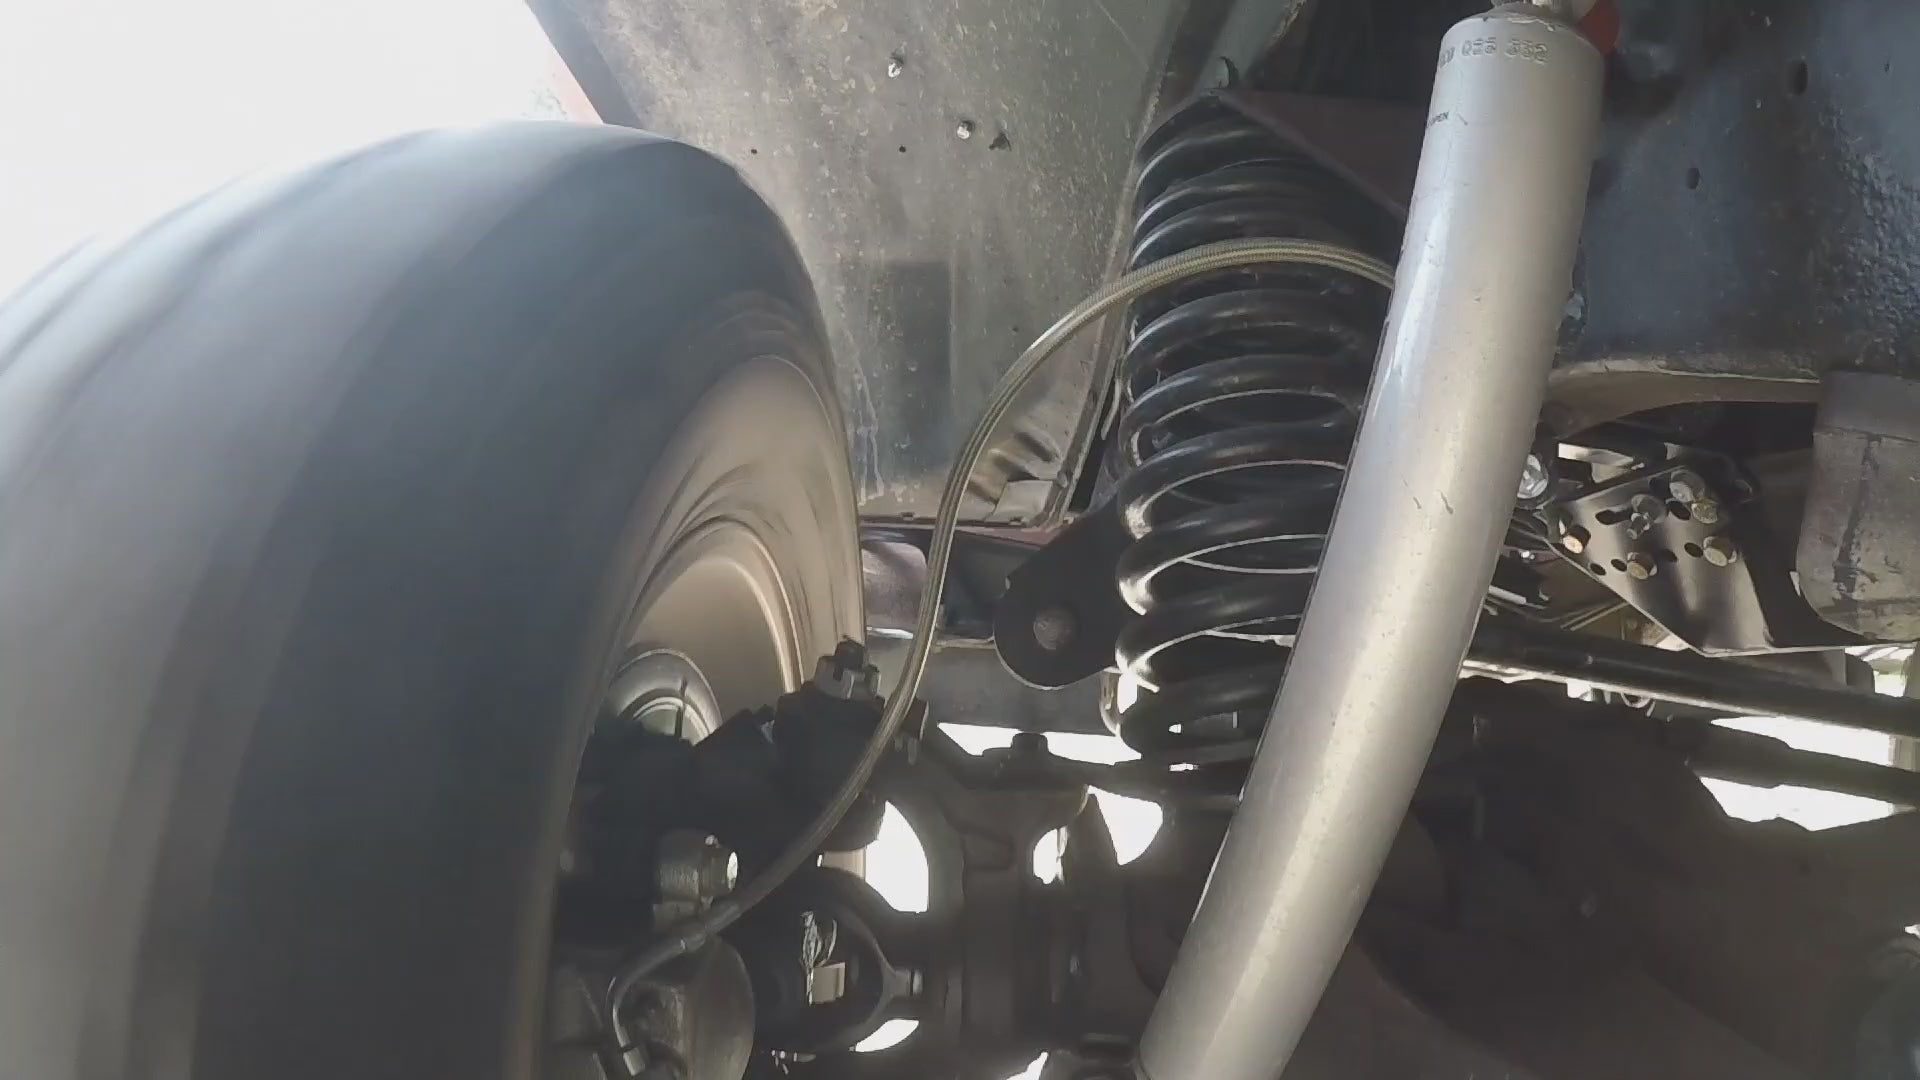
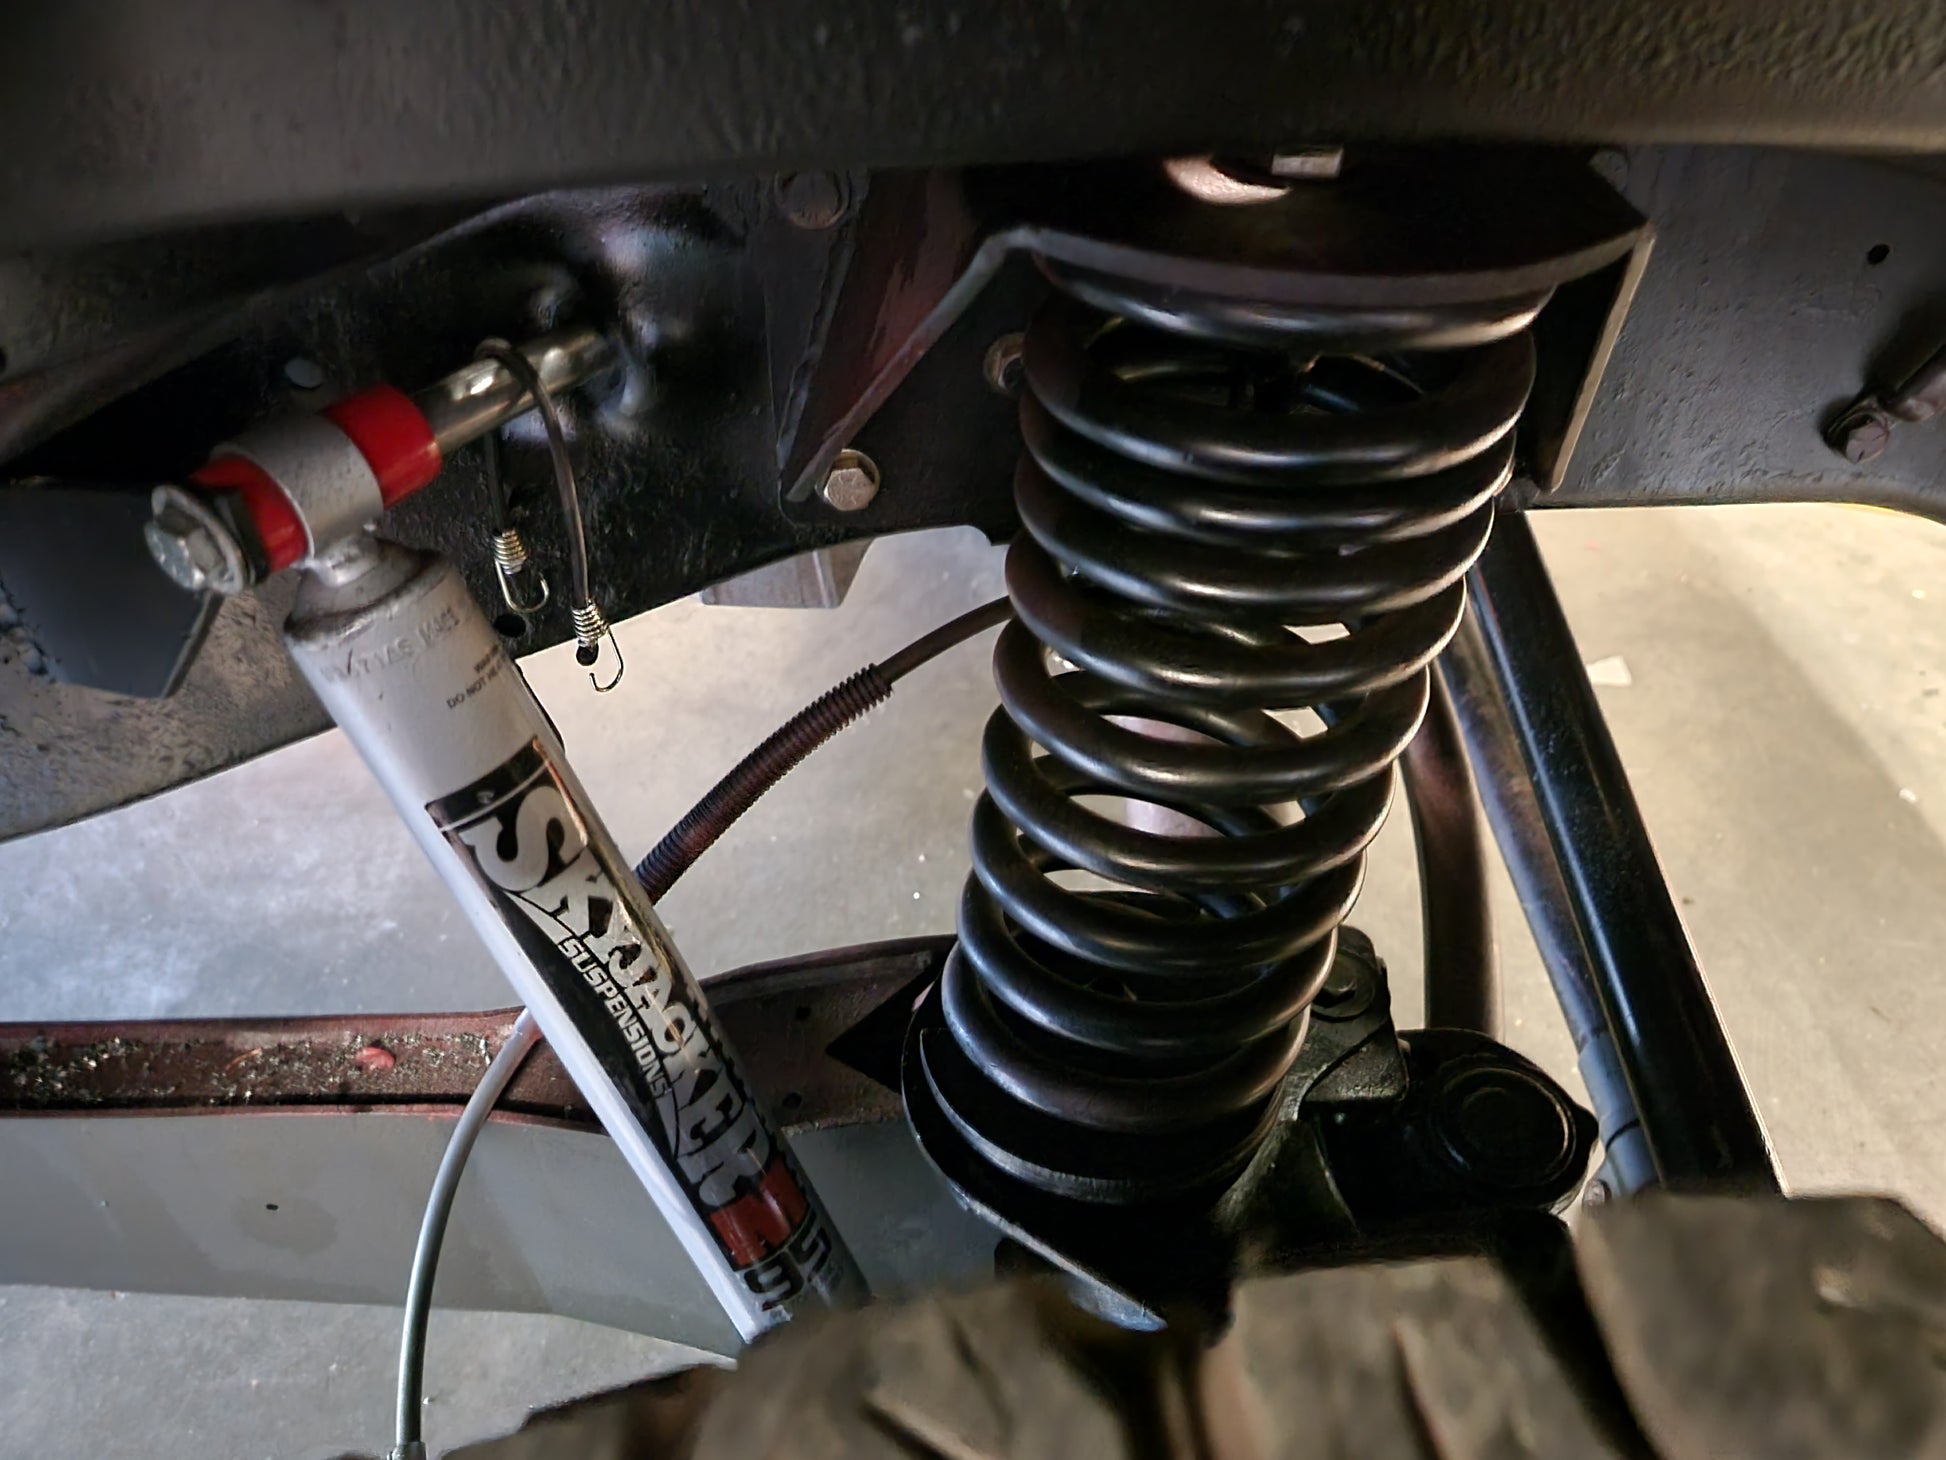
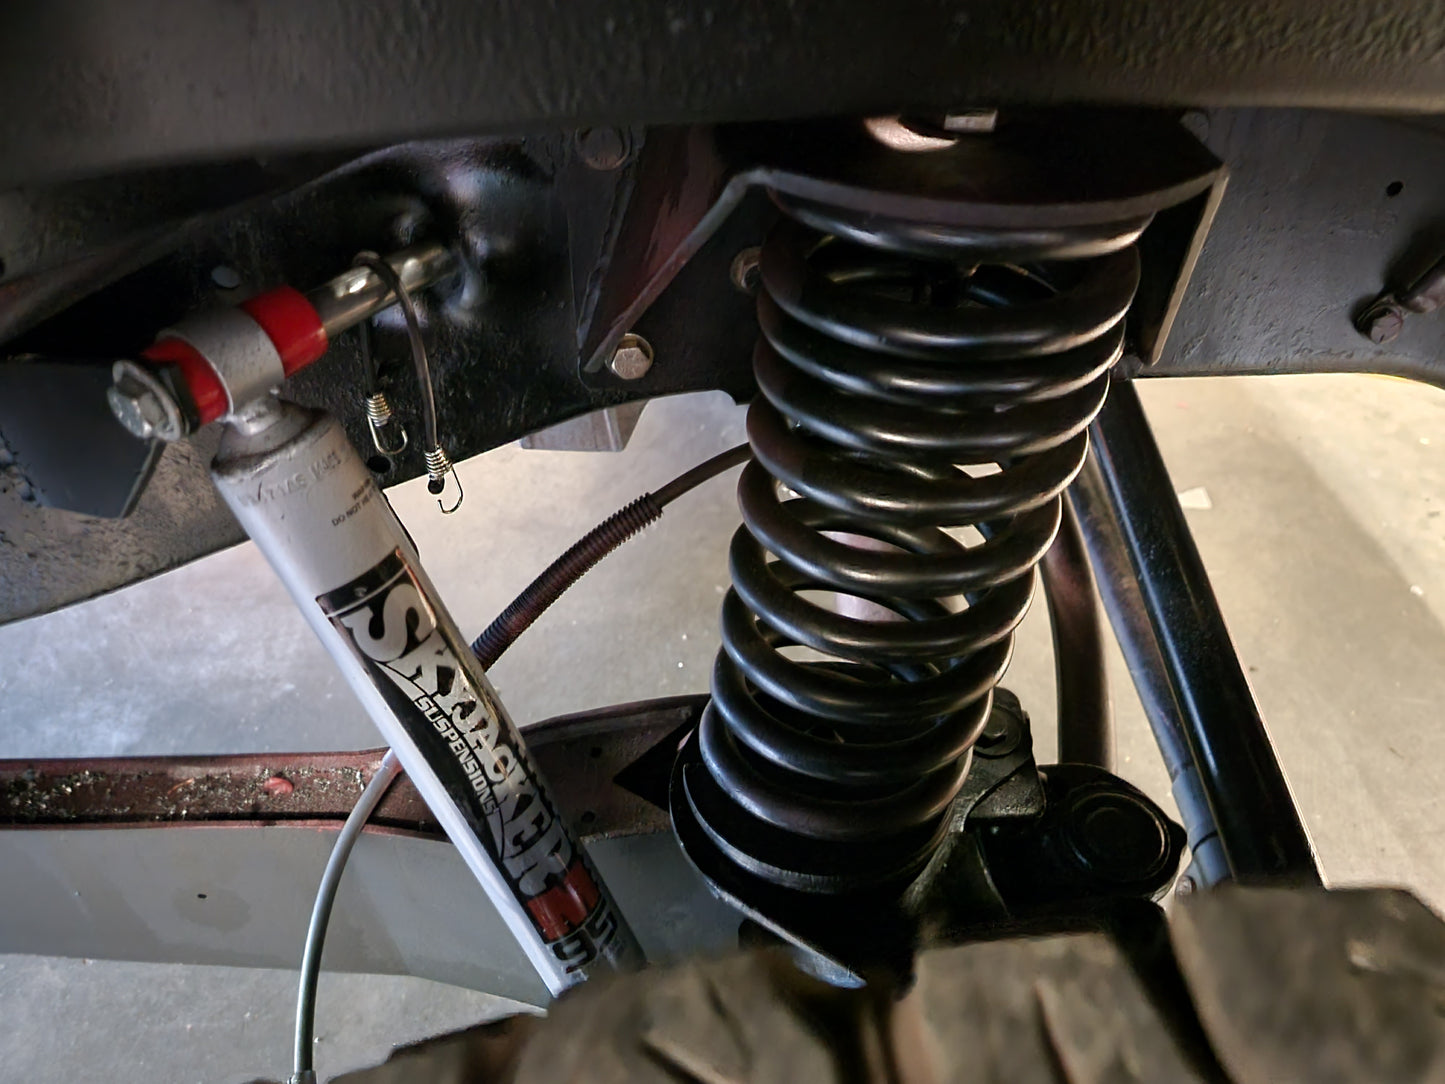
- Slide the spring into place on the upper bracket, install the upper coil retainer (circle shaped) and nut/washer. Tighten the nut to hold the coil in place loosely at this point. Repeat for both sides of the truck.

- Align the coil with the bottom coil bracket on the axle and jack the axle up until it just contacts the coil, do not put any weight on the coil at this point. Install the lower coil retainer (circle in a circle, the larger one) through the coil and over the lower stud. Install lower nut/washer and loosely tighten nut. Repeat for both sides of the truck.

- Once the coil retainers are started on both sides, jack up the axle so that some of the weight of the vehicle is on the springs (a couple inches after the springs touch top/bottom). Once there is weight on the springs, go ahead and tighten the upper and lower coil retainer nuts. As you're tightening the bottom retainer, rotate it until it wants to sit roughly flat. 100 ft. lbs. is a good target, though you'll probably be tightening the nut with an open end wrench.
![]() Hog Tip: Need bolt on radius arm frame brackets? HERE
Hog Tip: Need bolt on radius arm frame brackets? HERE
![]() Hog Tip: Need crossover steering? We have them HERE
Hog Tip: Need crossover steering? We have them HERE
![]() Hog Tip: Need a panhard bar? We have them HERE
Hog Tip: Need a panhard bar? We have them HERE

Materials
Materials
Powder-coated gloss black
.25" thick steel
Product comes welded
Grade 8 hardware
Shipping & Returns
Shipping & Returns
$20 shipping on orders valued $350 and under
Free shipping on orders $351 and up!
Returns accepted 30 days from delivery. Use the contact form to email us and get a return authorization
Canadian Orders
Shipping cost will be calculated at checkout. Items are shipped via USPS
Note: Price does not include Duties or Taxes, these will need to be paid
by the customer.
-
Free Shipping
USA ORDERS
$20 shipping on orders valued $350 and under
Free shipping on orders $351 and up!
-
Hassle-Free Exchanges
Order the wrong part? Send us
an email on the contact form and we can help you get it all sorted out!

